My name is
Jodie Mason and it is my pleasure to welcome you to my first ever blog. I will be bringing you into my craft room to see what I am working on. I enjoy all different types of crafts and there is nothing that I won't try my hand at. There will be product reviews, original one-off pieces, step - by - step instructions that you will be able to follow at your own leisure, and information on my supplies and where you can get them from. If you have any questions please don't hesitate to contact me, as I love being able to help others find their creative mojo.
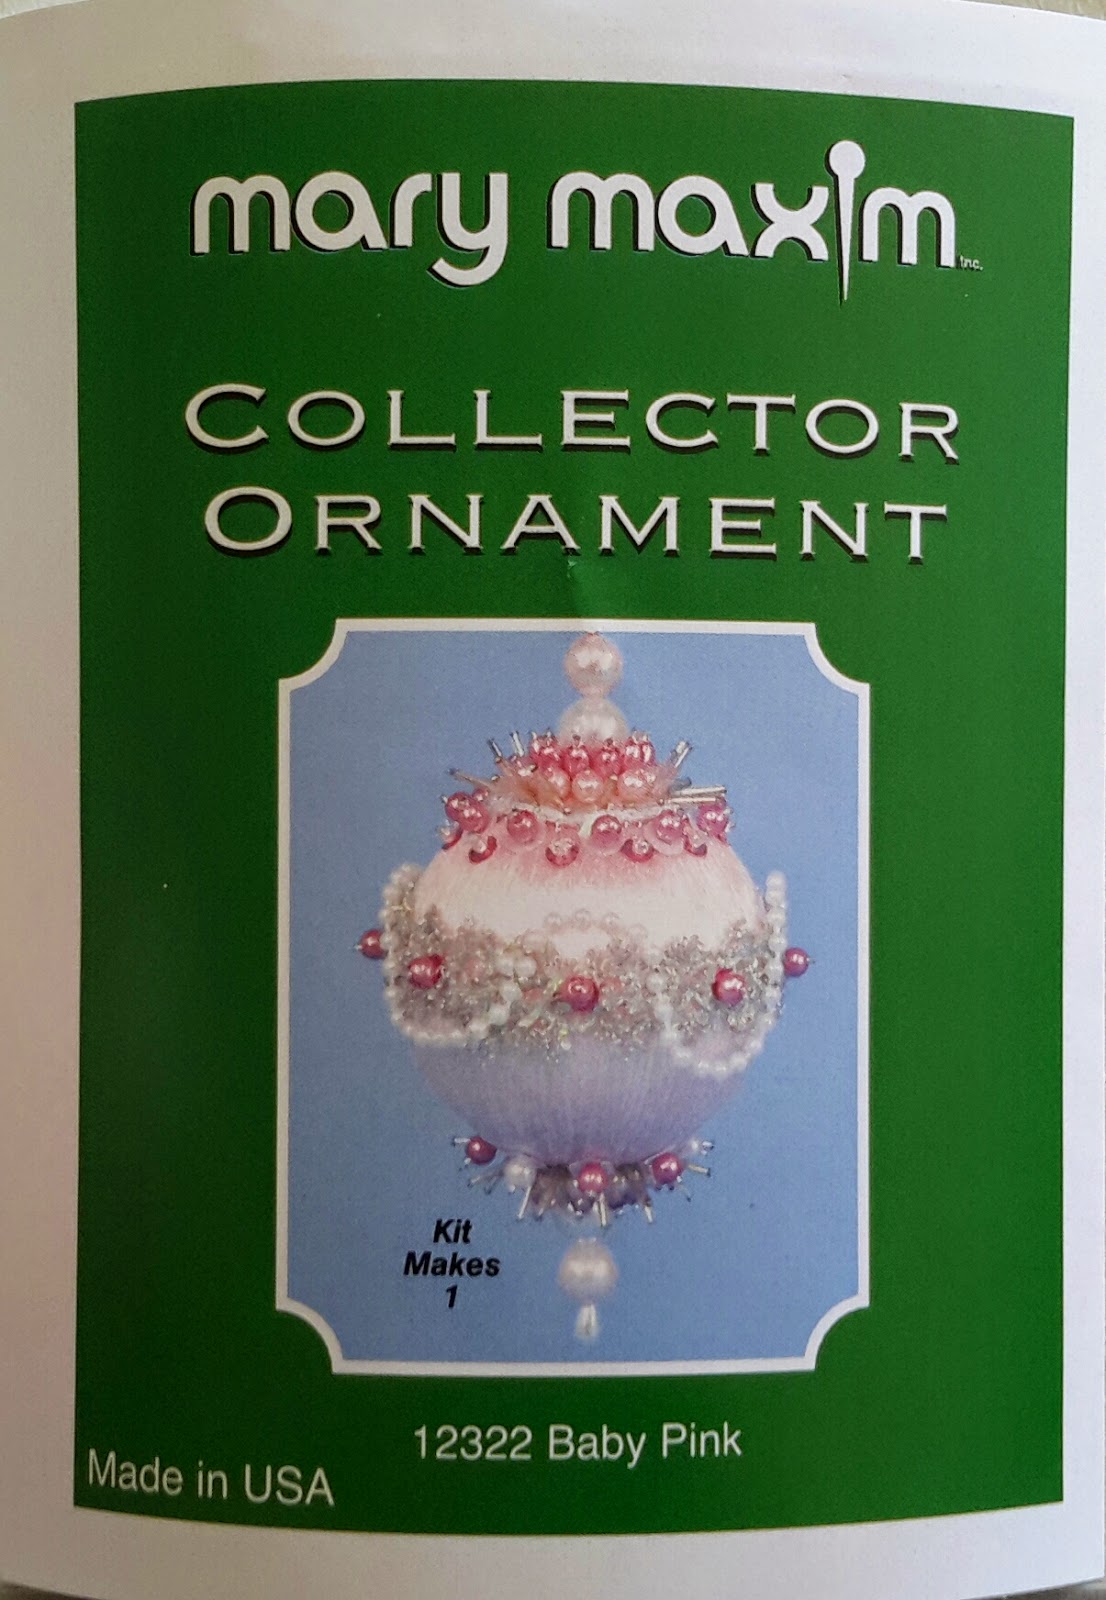
So let's kick it off. Seeing as there is only 10 or so weeks left until Christmas, I am starting to get into the Christmas presents. I had purchased this bauble kit from
Mary Maxim a while back and had it put aside for my daughter. As she will be just under 3 this Christmas I figured that it would be the perfect time to give it to her.
The kit comes with everything you will need except some scissors and glue. Good, comprehensive step-by-step instructions are also provided. These are easy to understand and follow for even the most creatively challenged among us. I have started by putting together all of the beaded pins required for the bauble. I have them laid out in each of their respective steps on a beading board, as you can see in this next picture.

Firstly, you glue in your main pins at the center top and bottom. The majority of the other rows are worked around these beads, so it is quite important to get them as close to center as possible. When you have them in the correct position pull the pin back out and put a tiny amount of glue on the tip of the pin, then reinsert it into position. The beaded pins for the first row of both the top and bottom of the bauble are inserted around these next. You will find it easier to put the pins in place first and then go back and glue them into position, as you may need to adjust the spacing between the pins on each row. I found it easiest to partially insert the pins to find the correct placement, and then remove, glue and reinsert them. Doing this and going row by row I worked my way up and down the bauble.
 |
| The first row of the top of the bauble. |
 |
| The first row completed on both the top and bottom of the bauble. |
The second row was completed in the same way. Position, remove, glue, reinsert.
 |
| The first 2 rows of the top. |
Do this for the top and bottom.
 |
| The first 2 rows completed for the top and bottom of the bauble. |
After continuing on in this manner for several more rows and adding a few rows of trim as instructed to, here is the finished result.
Not too bad if I do say so myself! And an easy project that you can complete in a day.
I'd like to take this opportunity to thank you for joining me here on my blog, and until next time happy crafting.
Jodie Mason.


