Translate

Thursday, 1 January 2015

Birthday Card

Firstly I should start with Happy New Year, as it is now the 1st of January, 2015 here in Australia. I hope that you all had a great Christmas and New Year. This new year for me means the start of my first DT (design team) position over at Stick It Down. They have monthly challenges running for card makers and scrap bookers, so if you get a chance jump on over and have a go.

On the subject of design teams Faery Ink are in the process of adding to their team at the moment. These guys make some incredible digital stamps, that have a wonderful element of whimsy to them. My almost 3 year old daughter is really into all things 'Princesses and Fairies' at the moment (as well as frozen, but let's not go there right now), so I've managed to get some great pictures from these guys to do up for her.

I got this image from them and once printed Miss almost 3, immediately thought it was her. So I went along with it for a bit. I have once again used my watercolour pencils to colour this image (as I have with the last few digital images that I've included in my blog previously). I added some brown hair and eyes, some slightly rosy cheeks and gave her a light complexion. Two of her favourite colours at the moment are pink and purple, so I added those too. Throw in a little dark grey for the headband, skirt and shoes (and trimming the skivvy) and 'Hey Presto' - Miss almost 3 was complete.

I have matched this image up with some simple paper, ribbons and embellishments as I really wanted the image itself to be the focal point of the card. Some purple card with swirls and a happy birthday ribbon form the base of the card. Add some small paper flowers from D'Lish Scraps and a rose metal embellishment from My 2 Angels and card complete.


I already have my next piece picked out for me. For this image, I would like to do it up for Valentines Day. I would like to try and get a head start on cards this year. To find out more about me and my work please check out my profile. If you have any questions please don't hesitate to contact me.

Until next time,

Happy Crafting.

Jodie.

Thursday, 11 December 2014

Christmas Wreath

Wow, how quickly does time pass by at this time of year? I have a huge list of things that I would like to do before the kids finish school for the year, but finding the time to do them is something else. I did however find time to make this Christmas wreath though. Let me know what you think.

It started as a plain foam ring that you can get at almost any craft shop. This was wrapped in a layer of tightly wound raffia, that has been glued down in sections so that it doesn't unravel. I then used a number of strands separated into 3 sections and made a large plait (as some strands end in the sections you do need to add more strands in so that you can make this in one long piece). This was then wrapped around the wreath form and glued down in sections at the back (I held it in place with some sewing pins whilst the glue dried) and added a handle.


I found some Christmas papers and used these to cover some alphabet chipboard letters. I then used a file to go around the letters and neaten up the sides. These were all covered with a layer matt medium.
I had a number of ribbons in my stash that matched in with the colours from the KaiserCraft Christmas papers that I used to cover the chipboard letters. These were then wrapped and glued around the wreath.


Then it was time to decorate. Out came my stash of flowers and after gluing down the Christmas word they were glued in around these and the ribbons.


The letters needed a bit more definition to them, so I covered them in a layer of glossy accents.

I know you are all asking what the heck are those colourful bits coming from the bottom of the wreath and the answer is simple... Curlers. Yes you read right. I have these curlers for my hair and thought that I'd try to curl the ribbons on the bottom with them. I added a spritz of water to the ribbons, pulled them through the curlers and left them to dry. After an hour or so I pulled the curlers off to see if it had worked and hey presto.
 
And here's a few close-ups for you.

 
Please don't be afraid to let me know what you think. Before I leave you today I do have some news to share. I have been selected to be on the Stick It Down design team for next year. They run a monthly challenge for scrap bookers and card makers. Why not check them out?

Wednesday, 19 November 2014

Water Colour Digital Prints

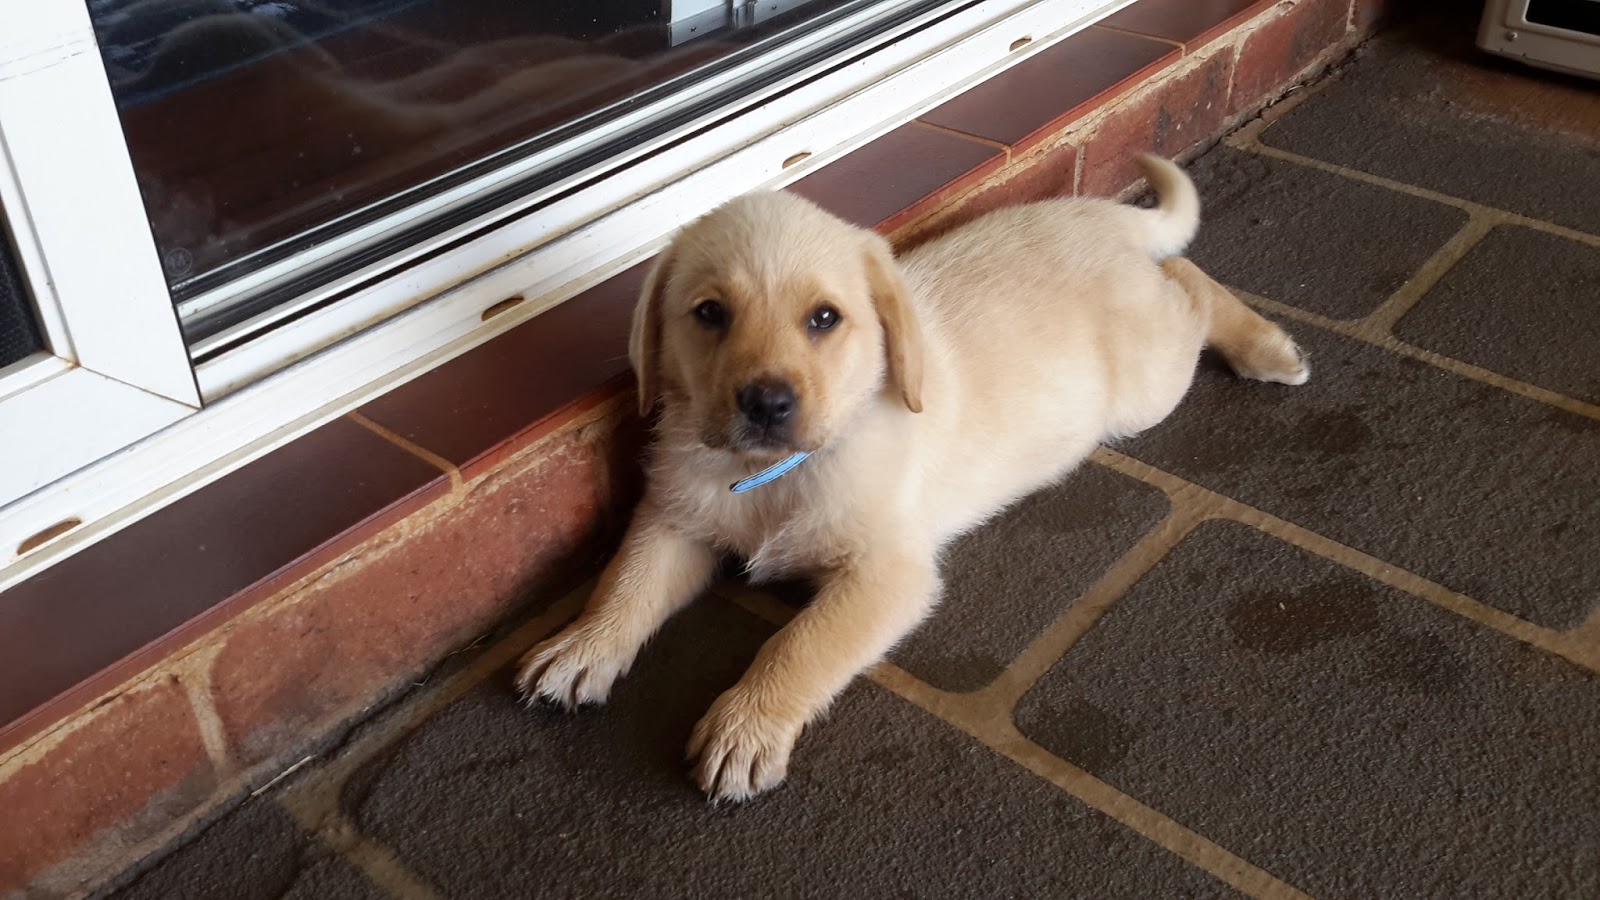
With the lead up to Christmas things have been incredibly busy around here. To begin with there has been a new addition to our family with the arrival of Sophie (or Princess Sofia as our kids call her), an 8 week old purebred Labrador, who was an early present from Santa for the family. And like any young baby, she needs lots of love and attention (and let's face it, who can say 'no' to that face). Then there has been the usual rush to get Christmas presents bought and made before the school holidays. But that's enough for now, let's get to the Crafty Stuff.


I have been creating with different stamps lately, and using my Faber Castell Water Colour pencils to colour them. Last time I used a traditional rubber stamp, but this time thought I'd change it up a bit and try some digital stamps. These have been downloaded, resized and then printed onto water colour paper. The stamp images I downloaded from Sassy Studio Designs and the first is called Buttercream Babe Elegant Cake, and the second is their Rapunzel Sassy. Once the images were completely dry I was able to colour them.


The Buttercream Babe image I have made into a birthday tag. To create the tag I have used KaiserCraft CP186 Chinese Whisper paper from their Child's Play Collection, Scrapmatts 'Best Wishes' sentiments, some additional chipboard swirls from my stash, some Liquid Pearls in ballerina and Tattered Angels Glimmer Mist in pearl. I have also added some pink sequins and pink and clear seed beads.  I used water colour pencil numbers 407, 409, 427, 429, 430, 445, 447, 463, 483 and 499 to colour the image.


For the Rapunzel card I started with a blank card base. I have added some torn strips of paper and then used some old chipboard frames (the frame that is left once you push out the chipboard pieces, which in this case was butterflies) and modelling paste, to create some dimensional textures on the base. Once dry this was added to with several different colours of Tattered Angels Glimmer Mists (red velvet, riptide, gold and denim blue) and a blue mist that I custom made. This was added to with 2 chipboard doves from Scrapmatts and paper flowers from my stash (some of which are available from D'lish Scraps). The digital image itself was coloured with pencil numbers 407, 421, 427, 429, 430, 445, 447, 451, 478, 483, 487 and 499.


I hope that you have enjoyed this post and that is it for me for now, so until next time TTFN.

Jodie.

Saturday, 8 November 2014

Watercolour Xmas Card

For the last 2 days I have been playing around with some of my stamps and watercolours. I think that I seriously forgot how much fun they could be to just 'play' with. Being able to sit down and just see what you come up with, or experiment with different colours and techniques, or strip your work back to the basics, is something that I really should make more time for. I have really enjoyed the last few days and I quite frankly forgot that part of my crafting for a little while. But never fear, I've got it back, and this time I don't plan on letting it go.

I needed to come up with a card for the Whimsy Stamps Design Team Application, and with Christmas approaching (and way too quickly for my liking) I figured a Christmas card could be called for. Here is what I came up with.


Whimsy Stamps Design Team Application Card. I have put both the inside and front of the card here for easier viewing. The inside of the card is on the left and the front of the card is on the right.
For the front of the card I have used a stamp from Hot Off The Press Inc. 2014 collection and stamped this onto watercolour paper using Stazon Ink in Timber Brown colour. Once completely dry I was able to colour this using my Faber Castell Watercolour pencils. I have used colour numbers 430 for the skin, 478, 483 and 487 for her hair, 421 for her sash, and 463 and 457 for her dress. Once this had dried (and this can be helped along with the use of a heat gun) I sprayed it with a light coat of Tattered Angels Glimmer Mist in Pearl colour. This gave the image a really nice shimmer (almost like fine snow falling over her), which I thought was appropriate for Christmas. I have added a piece of chipboard from my stash that I have coloured with Perfect Pearls (Heirloom Gold), and a variety of paper flowers from Petaloo and D'Lish Scraps. I have matched these with a collection of Kaiser Craft's Christmas papers. I have also added a ribbon bow to the top corner of the page.


The front of the card.

 
A close-up of the coloured stamp image on the front of the card.

For the inside of the card I have used the same techniques but with a Kaiser Craft stamp of the Christmas tree. This was coloured using the Faber Castell watercolour pencils again in numbers 467, 463, 457 and 421. I have once again sprayed with glimmer mist and added some stick on crystals (Kaiser Craft) for the baubles. The gold sparkly star is with Stickles in yellow. The blue background was achieved using the watercolours in numbers 447 and 445.


The inside of the card.

I have also used another Kaiser Craft Stamp (from their sentiments ranges) and coloured this with the red and green watercolour pencils, to give it a Christmassy effect.

Being someone that enjoys more than just 1 style of crafting, I find that there are many places in which to use stamps. You do not need to confine yourself to just cards. Think scrapbooking, mixed media (such as with my last post of Holly's Silhouette), parchment craft, quilling as well as other paper crafts. You can also use them to stamp on materials, woods, glass and so many other mediums. If selected for the Whimsy Stamps design team, I will hopefully be able to display some of these techniques for you, so that you too can attempt these and have some of the fun that I have when doing these.

Stay tuned for more of my Christmas crafts as the 'Big Day' draws nearer, and I hope to see you all soon.


Saturday, 1 November 2014

Holly Mixed Media Silhouette

Today I have had a chance to do something that I have been wanting to try for some time now. The best bit was that I was able to do this piece revolving around my 2 year old daughter Holly. I wanted to create a mixed media piece along the lines of that which Finnabair does. And I also wanted to center it around some of her favourite things. As a typical little girl she loves all things fairies, princesses, butterflies, and flowers etc.

My perfect opportunity presented itself in the form of the 'Scrap Around The World' October Challenge. You can access their blog here at Scrap Around The World and the October inspiration board was:


The board was filled with the colours that Holly loves. The blues, purples, pinks and a few shades of teal. It also had her precious butterflies, which made it even more perfect.

So here's what I came up with:

I began with a 12" square canvas that I stencilled on some background detailing with modelling paste.


 Then came another stencil, some more modelling paste, and some glimmer mist sprays.


More spritzing and spraying


Then I added some chipboard pieces to spell her name and used gesso to stick these to the canvas. I then applied gesso over the top of the letters so that they too could be sprayed.


Next came the FUN bit. I got Holly to lie down on the floor for me and I slipped a piece of paper under her head. I then drew around her profile (like you do as a kid with your hands) and got her silhouette. This was then copied onto a piece of black card and cut out. This was glued to the canvas and I used a matt medium gel to do this.


I did stick this piece of ribbon under where her pony tail started, but later cut it off as it was not quite the look I wanted. I wanted to keep her face area free and then cover her hair with embellishments. I started by gathering anything and everything I thought that I might be able to use, and laid these out. I then started by placing some of the bigger metal/chipboard embellishments out.


These were glued down with the matt gel. More embellishments were chosen, laid out and then pasted down. This continued until I was happy with the coverage over the area. To achieve this I also used paper flowers.


When I was happy with the coverage and all of the pieces were securely glued down, I applied several layers of gesso over the top of everything.


Then the colouring fun began again with some more spritzing and spraying, until I was happy with the colour combinations. I have used black acrylic paint to paint over the black card face area. Here is the finished result.

 
And another view.
 
 
I think I will go back tomorrow and add some shadowing around the letters and the hair embellishments, to make them POP just that little bit more.

I hope you enjoyed this, and I'll be back again soon showing some more from my craft room.